PERFECT NAIL PREP
Now that everyone is rested after all the festivities let's start the year "putting our best foot forward" by focusing on correct Nail Prep for the Nail Enhancement service with products such as UV/LED Hard Builder Gel, UV/LED Acrylic Gel or UV/LED Apex Gel.
Please note that nail prep for Nail Enhancements and Gel Polish Colour is different.
As you may have seen all over social media in the past year there has been a huge increase in the popularity of nail prep tools, as it is no mystery that correct prep is the holy grail in achieving not only an Insta worthy nail look but also bringing those customers back to your salon every month.
In 2021 at Gellifique® you will able to stock up on all of your essentials for perfect prep without breaking the bank and as usual without loosing out on product quality. There is no better time than ever to double check your nail prep basics, maybe make some notes and head to our online store to grab some essentials.
WHY FOCUS ON CORRECT NAIL PREP
Lets focus on what is relevant in our industry today. With the rise in popularity of BIAB, BOB etc (acronyms) plus a bit off clever marketing many technicians have found themselves working with what feels like a new system.
However, regardless of the fact that this is a brush on product the nature of the product is still that of a soak - off UV/LED Builder Gel which means that nail prep and application for this product is different compared to that for application of UV/LED Gel Polish.
Application of a soak - off UV/LED Builder Gel without accredited training is messy, does not last and most importantly can be downright dangerous for your client.
Because UV/LED Builder Gels are formulated with an idea of a re - balance service as opposed to complete removal there is no real need to remove all product from the natural nail during a re balance. In fact the best possible application of the "primary" set on your client will decrease the amount of removal (filing and buffing away all the lifted product and air pockets) which will have to be done during the re-balance service. This will aid better overall health of your client’s natural nails in the long term.
By incorrectly applying a nail enhancement or by using a nail system with poor adhesion the result of product lifting can cause air pockets which can lead to air and moisture being trapped underneath the enhancement, potentially resulting in bacterial growth or simply a likelihood of natural nail damage through catching, pulling or breaking of the enhancement.
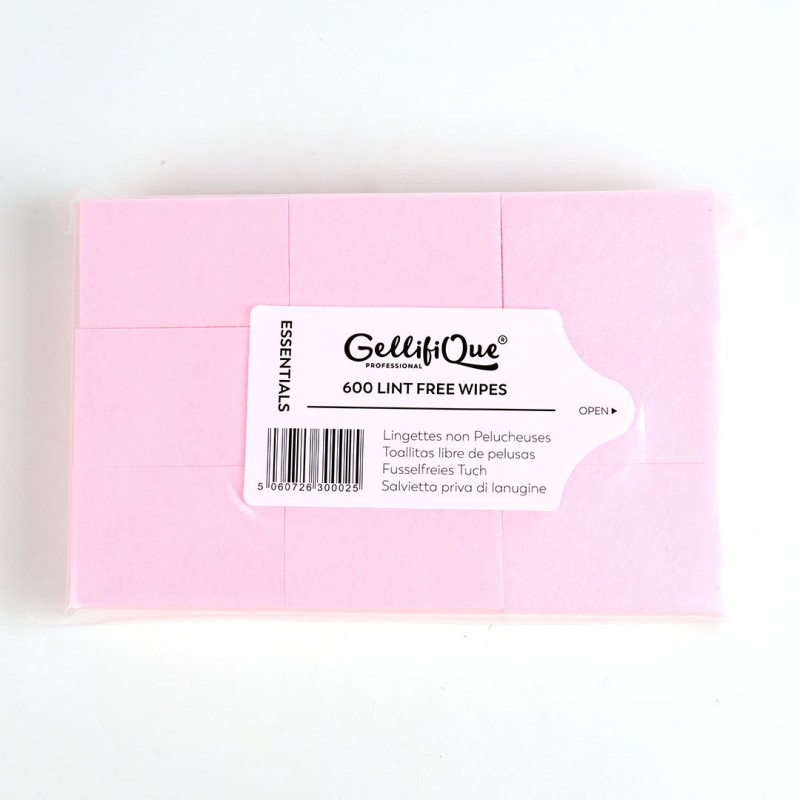
LINT FREE WIPES - ROSE - £5.00
SANITISE
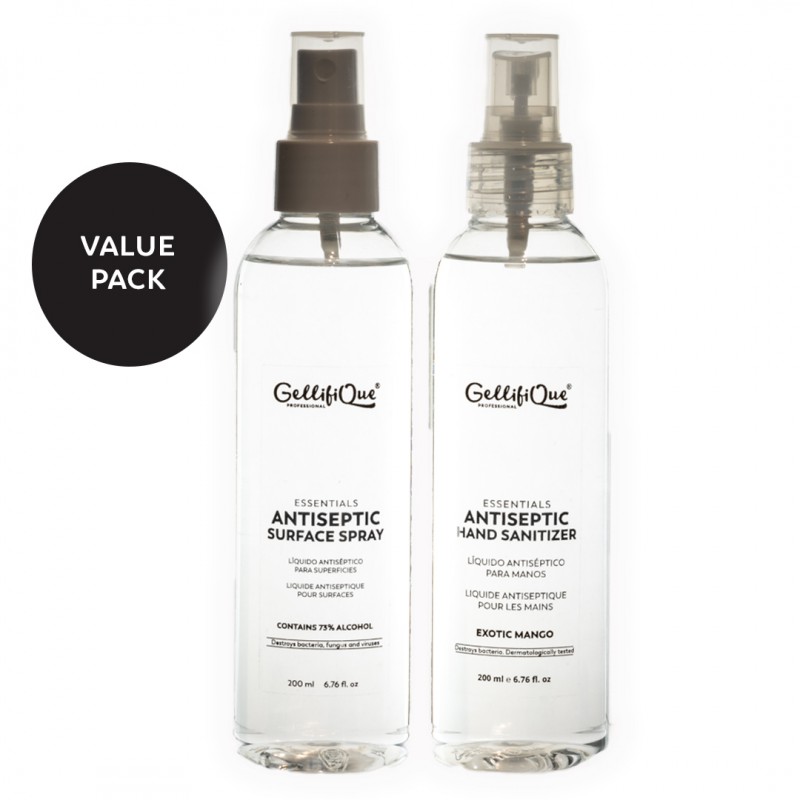
If possible Gellifique® strongly recommends to wear gloves as a matter of your own personal safety and hygiene. To start any manicure service we recommend washing your own hands and asking your client to do the same, then sanitising their hands with a spray such as the Gellifique® Antiseptic Hand Sanitiser. This product is available in a value pack and has been dermatologically tested. Please note it has a light exotic scent.
ANTISEPTIC VALUE PACK - £16.19
Make sure the client has not been to a sauna, pool or spa on the day of the appointment as the nail plate must be thoroughly dry prior to product application.
CUTICLE PREP
Before a nail enhancement is applied it is very important not to remove any of the non living cuticle tissue until later as doing this poses a higher risk of damaging the natural nail as well as damaging the cuticle area itself during the refining of your nail enhancement.
This step is often missed or misinterpreted in the nail industry and along with other minor errors often results in the images which you may have come across of red and sensitised cuticles post nail service.
Although, this type of surface skin damage is not necessarily serious it can be avoided or at least greatly reduced.
STEP 1
The non living cuticle tissue often looks slightly transparent or very dry. Targeting that area apply a cuticle softening product. A cuticle softener is a cream or a gel which is full of hydrating ingredients and natural fruit acids which deeply and quickly penetrate into the skin, softening the cuticle and peeling it away from the natural nail thereby allowing you to push it literally out of the way with a high quality (previously sterilised) cuticle pusher.
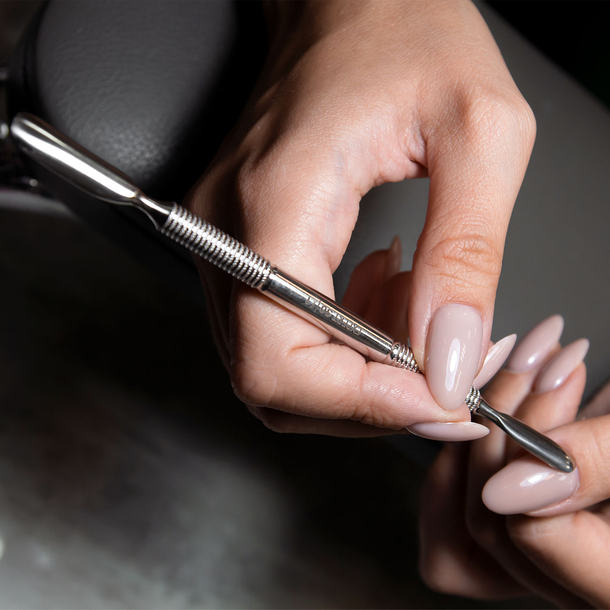
STEP 2
Push back the cuticle with a light, controlled technique. We recommend to take your time as this step is crucial. Do not cut off the non living cuticle at this stage. Take a nail file and shape the nail to resemble the shape which you are going to create with a nail enhancement. Take the Gellifique® buffer and lightly buff the natural nail.
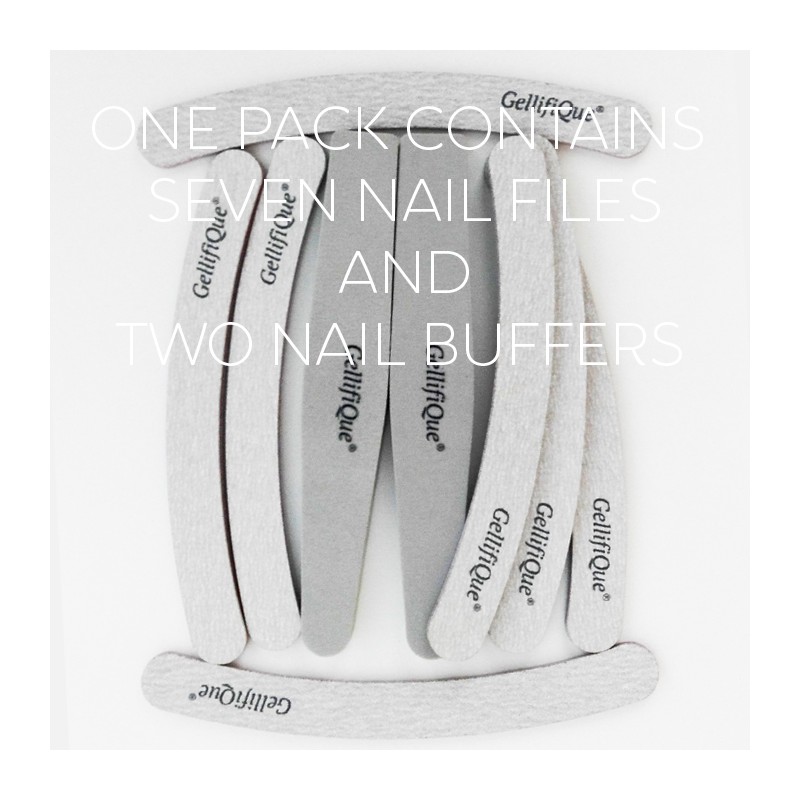
NAIL SHAPING SET 9 pcs. (7+2) - £7.99
STEP 3
Using a nail brush dust off the nail and take a lint free wipe, spray it with the Gellifique® Antiseptic Surface Spray which has also been dermatologically tested and wipe off the residue of the cuticle softener. Repeat this step twice or until all residue is gone.
The emphasis in this step is to remove any moisture, oil and residue from the natural nail and most importantly from around the cuticle area and lateral nail fold (sidewalls) .
Did you know that the skin surface starts to produce natural oils within 30 minutes of prep? This is why it is crucial to thoroughly cleanse the nail prior to any product application.
STEP 4
Applying a primer or a bonder is also an important step and should not be skipped as these products are aimed at enhancing product adhesion by further dehydrating the nail plate. These products must be applied to the nail only and skin contact must be avoided as these products have a higher acidity content and may cause skin irritation is some people.
STEP 5
Prior to applying UV/LED Microcrystal Base Coat ensure the cuticles are all perfectly pushed up. Complete your nail enhancement, buff and shape it. Ensure any gel residue is removed from the skin and lateral nail fold (sidewalls) as this will cause product to lift and all chemical products should be kept away from the skin. Remove the dust and thoroughly cleanse the nail with the Gellifique® Antiseptic Surface Spray as above.
STEP 6
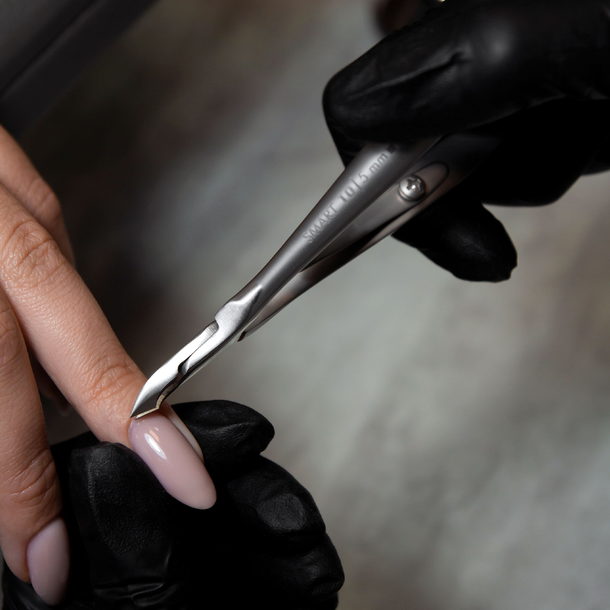
Before applying the Gellifique® Microcrystal Top Coat using cuticle nippers remove any left over non living tissue around the cuticle. Please always
complete this step prior to application of UV/LED Gel Polish Colour , UV/LED Top Coat or any Nail Art Design. If this step is completed after colour application it will create a gap between the cuticle area and the natural nail creating an appearance of nail regrowth.
TOOLS
There are many reasons for using professional grade tools and these will be discussed next time in our blog and newsletter so make sure to subscribe, as well as correct sterilisation and maintenance of all of your everyday nail tools.